Welcome to the heart of your kitchen – the garburator. This often-underappreciated appliance plays a key role in keeping your kitchen clean and odor-free.
However, to ensure it functions at its best, regular cleaning is essential. In this guide, we'll walk you through the steps of cleaning your garburator, providing detailed insights to keep this kitchen workhorse in top condition.

Your Garburator: A Quick Overview
Think of your Garburator as a mini powerhouse right in your kitchen sink, designed to make food disposal quick and easy. At its heart, it uses a spinning flywheel along with impellers—think of them as little blades—to chop and grind up food waste into tiny pieces.
But here's the deal: even powerhouses have their kryptonite. For garburators, troublemakers come in the form of hard items like bones, stringy stuff like celery stalks or corn husks, and greasy substances that can gum up the works. Steering clear of these will help keep your appliance running smoothly for longer while also making sure it does its job without any hiccups.
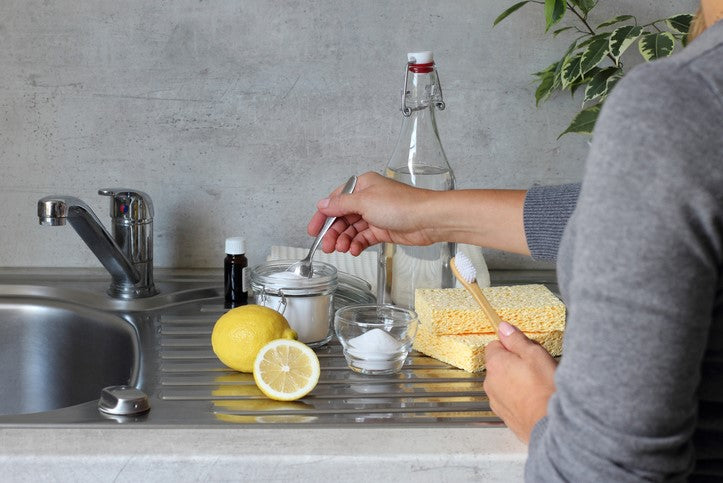
Gathering Your Cleaning Arsenal: Tools for the Task
Before beginning the cleaning process, make sure you have the right tools on hand. Proper equipment makes the process smoother and more effective.
- Rubber Gloves: Protect your hands from debris and ensure a hygienic cleaning process.
- Baking Soda and Vinegar: These household staples create a powerful yet natural cleaning solution to tackle odors and residue.
- Dish Soap: A mild dish soap helps cut through grease and grime, leaving your garburator fresh and clean.
Step-by-Step Cleaning Guide: Bringing Back the Shine
Now, let's take a closer look at the steps for cleaning your garburator. Follow these instructions for a spotless and odor-free kitchen essential.
Step 1. Turn Off the Power
Start by ensuring the garburator is disconnected from the power source. Safety first! Locate the power switch or unplug the garburator to avoid any accidental start-ups during the cleaning process.
Step 2.Remove Visible Debris
Using tongs or a long-handled brush, carefully remove any visible debris from the grinding chamber. Be cautious not to damage the impellers. This initial step prevents potential clogs and ensures a smoother cleaning process.
Step 3. Create a Cleaning Paste
In a small bowl, mix equal parts baking soda and water to form a paste. Apply this paste to the rubber baffle and any visible surfaces, scrubbing gently with a brush or an old toothbrush. The paste acts as a natural abrasive, tackling stubborn residues and leaving your garburator refreshed.
Step 4. Scrub the Grinding Chamber
Pour a cup of baking soda down the drain, followed by a cup of white vinegar. Let the mixture sit for a few minutes to fizz and clean the grinding chamber.
Scrub the chamber walls with a long-handled brush or an old toothbrush. This dynamic duo of baking soda and vinegar effectively breaks down grime and neutralizes odors.
Step 5. Freshen Up with Citrus
Cut up citrus peels (lemons, limes, or oranges) and place them in the garburator. Run cold water while turning on the appliance to freshen up and eliminate any lingering odors. Citrus peels act as a natural deodorizer, leaving a pleasant fragrance in your kitchen.
Step 6. Unclogging the Drain
If your garburator is draining slowly, mix half a cup of baking soda with half a cup of salt and pour it down the drain. Follow with boiling water to help break down grease and clear the pipes. This simple solution can prevent costly clogs and ensure efficient drainage.
Step 7. Eliminating Foul Odors
Persistent odors can be tackled by grinding ice cubes made with vinegar in the garburator. The ice helps clean the impellers, and vinegar acts as a natural deodorizer. This quick and easy trick keeps your garburator smelling fresh.
Step 8. Avoid Overloading
Dispose of small amounts of food at a time to prevent overloading the garburator. This helps maintain smooth operation. Overloading can strain the motor and impede the grinding process, leading to potential malfunctions.
Step 9. Run Cold Water
Always run cold water when using the garburator and continue for a few seconds after turning it off. Cold water solidifies grease, allowing it to be chopped up and flushed away. This practice prevents grease build-up, ensuring optimal performance and reducing the risk of clogs.
A Sparkling, Efficient Garburator
With these detailed steps and proactive tips, your kitchen essentials will function more efficiently and contribute to a healthier, more pleasant kitchen environment.Regular maintenance of your garburator not only extends its lifespan but also ensures a trouble-free experience, allowing you to enjoy a cleaner and more hygienic kitchen for years to come.